things nobody tells you about being a mom: what happens when you sleep

People love telling moms-to-be how little sleep they will get when their baby arrives. For me, reality lived up to the hype. When CJ was a wee little baby I felt like I was up 24 hours a day, but I expected that. Like I said, people love talking about it. (Aside: if you encounter someone who says something like “my baby slept through the night right away!”, that person is a jerk and probably a liar; you shouldn’t be friends with them).

What took me surprise was what happened when, by some miracle, I would get some sleep.

We decided to put CJ in a crib in his own room pretty much right away. Everyone makes different decisions when it comes to sleeping babies, and that was ours from the get-go. But I guess someone forgot to tell my brain about that decision.

In the early days I would routinely wake up with a jolt, feeling around the bed for the baby I was sure was in there somewhere – I would demand from Rick “WHERE’S THE BABY?!?!?!”. Rick would respond “he’s in his bed…”. Oh yeah. Oops. That happened every night. Multiple times. For months. In between panic attacks, I would wake up snuggling the blankets, thinking they were my little baby, I would gently stroke their “back”, and then realize I was loosing my sh*t.

The panics (but not the crazies) have worn off now, but a new, way funnier thing has taken their place. I now routinely dream that CJ is crawling (ha! not likely with my adorably lazy baby). But he’s crawling into danger! Oh no! So I reach out, quickly, to grab him and save him! But of course what I really grab, violently, is poor sleeping, unsuspecting Rick.

The other night was the best one. Rick was just drifting off to sleep while I was already in dreamland. Suddenly, I had to save my baby! This time that meant my hand completely covering Rick’s mouth. He woke suddenly, gasping for air.

Sweet dreams, Ricky….sweet dreams…

20130306-211500.jpg
Claire xo

she is not lying folks

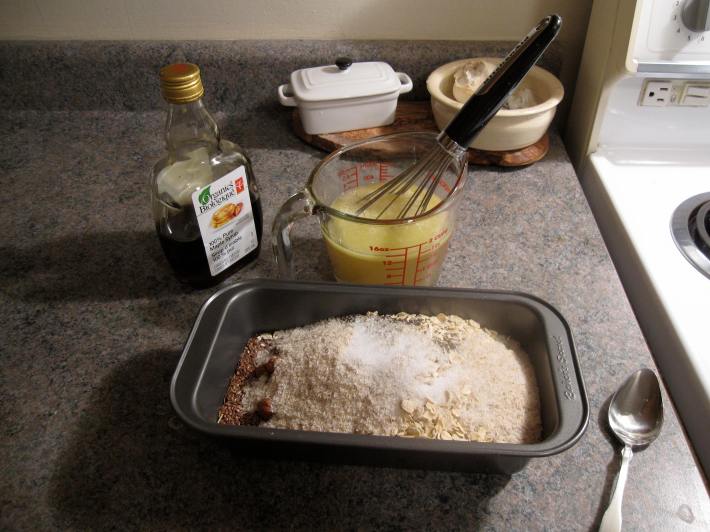
has “the life changing loaf of bread” popped up on your internet travels lately? it seems to be all over mine. from the moment i saw it, i wanted to make it. guess what: it.is.amazing.

Image

this is by far the easiest “bread” you will ever make, and it is jam packed with great stuff for your body (specifically your intestines). head over to my new roots and check it out. i am fairly certain you won’t regret it.

turning your partner into a vegetarian (without him noticing) vol. 3

20130227-175415.jpg
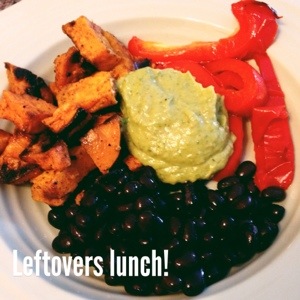
I made this the other day and it was delicious! I spent about an hour in the kitchen (not bad). The avocado salsa was amazing. I will definitely make this to use as dip instead of my regular guacamole recipe – it trumps any guacamole I’ve ever eaten, no contest. Bold statement, I know. (My mouth is actually watering right now just thinking about it). The next day, I used some leftover elements for lunch – it continued to be amazing.

20130227-175339.jpg
You can find the recipe here. I pretty much followed the recipe, but my sweet potatoes did cook in much less time than suggested, so be sure to keep an eye on them (although that may have just been because my oven is on the fritz…I’m in major denial about that though, so we will blame the recipe).

march most wanted

20130225-132004.jpg
These are a few things I’m craving at the moment!
1. You can write on these Martha Stewart labels with chalk, they’re reusable and fun…she does it again! Find them here
2. Please, may I have this Paper Crown skirt? Find it here
3. And this dress from ModCloth? Pretty please? Find it here
4. Out of Print make tshirts and other products featuring covers from famous/interesting books (the one above is Little Women). Bonus: for every product sold they donate a book to a community that needs it in Africa! Win win! Check it out here
5. Charlie is itching for this Bill Murray onesie from Uncovet! Right?! Find it here

What’s on your list?

Claire xo

a sweet treat

Over the past few years, this has been my go to gift to give to friends when they need a little pick me up, or if they start looking too thin. What I like about giving it is that its a) colourful b) customized c) edible and d) not too cheap/not too expensive. You can easily tack it on to a bigger gift, like a birthday or graduation. Toss it in a cute mug, tie some cookie cutters onto the ribbon, pair it up with a good book-the possibilities are endless.

To make this, all you have to do is go to your local bulk food store, pick up a cellophane bag and choose candies that your friend likes best. I like to assemble the candy in the bag by layers, but you could also make more of a “candy salad” and mix it all up. In total, this cost me less than $9.

I hope your friends enjoy!

Image

(Sorry for the poor photo quality) (Do yourself a favour and go by some gummy teeth)

Robyn xo

wonderful wedding wrapping

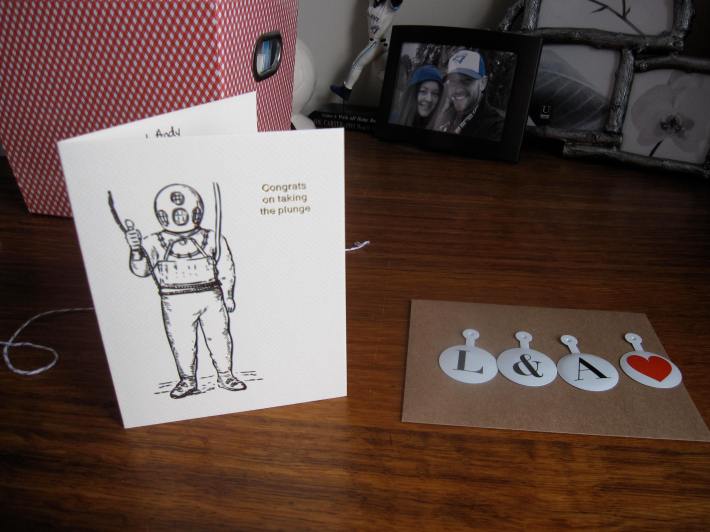
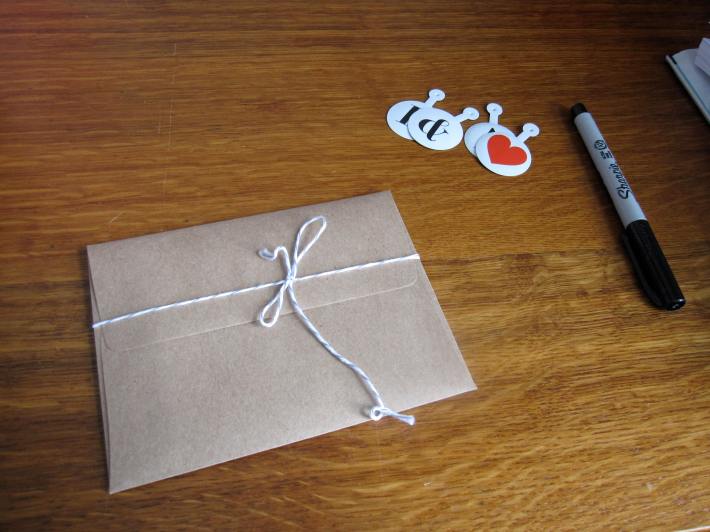
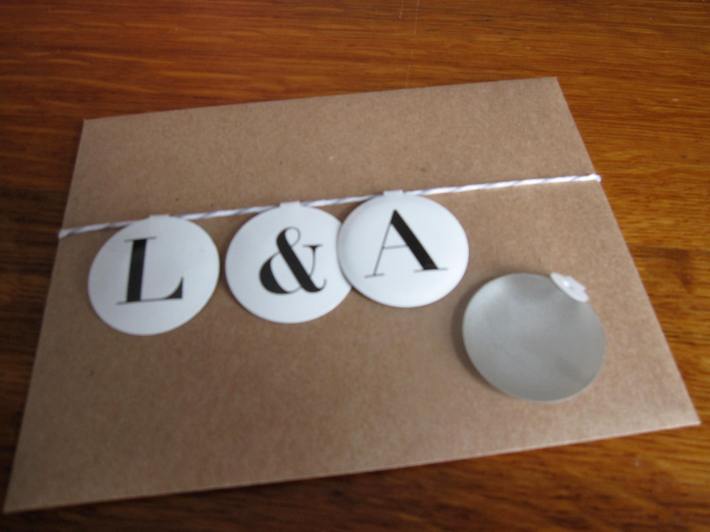
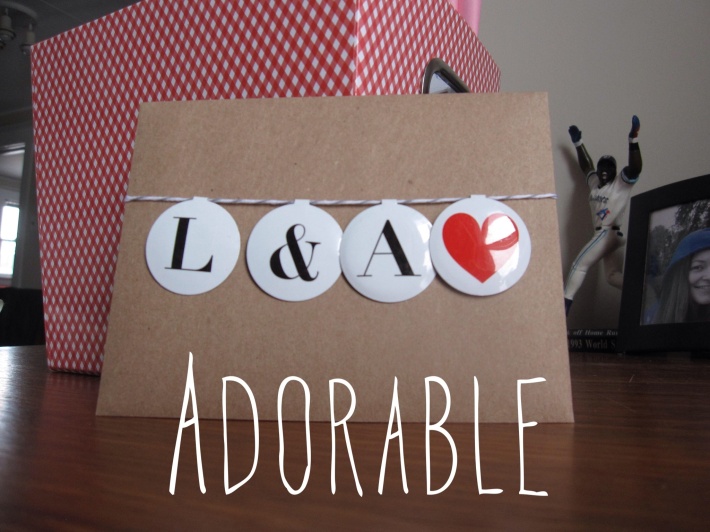
As one might be able to tell from my previous posts, I am pretty into cards. The love does not stop there though. Oh no. It goes straight on through to wrapping/labeling-town. I was super happy to get a chance to use some really great little tags that I picked up recently when I went to a wedding this weekend for some dear friends. Here is what I did:

Image

Image

Twine is so hot right now.

ImageImage

Joe Carter approves-FTW!

turning your partner into a vegetarian (without him noticing) vol. 2

20130218-063247.jpg
I’m all about making food from scratch. But, sometimes it’s Wednesday. During the week I just want food, and I want it now! So, I’m always on the look out for new ideas that are fast and delicious. I made this the other day and Rick and I both really enjoyed it – and I only spent about 15 minutes in the kitchen – success! Whip up a salad to go with this and you’re good to go!

Crispy Gnocchi with Pesto, Tomatoes and Goat Cheese

ingredients
1 clove garlic, chopped
1 1/2 tbsp. olive oil
1 package (16 oz.) gnocchi
1 pint grape tomatoes, halved lengthwise
3 tbsp. pesto
1 package (3.5 oz.) goat cheese, crumbled
(all measurements can be adjusted to taste)

directions
In a large skillet, heat the olive oil over medium-high heat. Add the garlic and cook, stirring, for 1 to 2 minutes. Add the gnocchi in a single layer and cook, undisturbed, until golden and crisp, 3 to 4 minutes; turn and cook, tossing occasionally, until golden all over, about 2 minutes. Stir in the tomatoes and cook until heated through, about 2 minutes. Remove from the heat and stir in the pesto. Top with the goat cheese.

Claire xo

Recipe adapted from original, found here

trimming your own bangs

Talking about hair makes me sad these days. Post pregnancy (ahhh pregnancy, a glorious time of full, lush hair!) mine has been falling out, and fast! I know this is just temporary (right? RIGHT?!) but it’s still annoying. But that’s not really what I’m meant to be talking about. I want to talk about the wonderful world of trimming your own bangs! Is it just me, or does it always feel to you like your bangs grow at twice the speed of the rest of hair? Forcing you to make a trip to the hairdresser before you’re really ready? Well, no more, my dear!

Trimming your own bangs is super easy. The key is to take your time. And remember, bobby pins and a pretty scarf can hide pretty much any mistake, so don’t stress!

(Note: sorry the pictures aren’t great, I was home alone when I did this had a hard time capturing everything with only two hands!)

20130215-094143.jpg
Here is my before – too long!

20130215-094230.jpg
Step 1: Tie back the rest of your hair so you just have to deal with the bangs. If you have short layers that you don’t plan to cut, be sure to pin them back.

20130215-094354.jpg
Step 2: Comb your bangs forward. If you want to make your bangs thicker, simpler bring more hair forward. You want to have a triangle shaped part at the crown of your head.

20130215-094617.jpg
Step 3: Either use a fine tooth comb or your fingers to hold your bangs away from your face. The key is to make sure you don’t pull the hair tight – keep it loose! This will help to make sure you don’t cut your hair too short. As soon as you let go those bangs are going to boing up! You can now start cutting. I cut mine on an angle. Work slowly!! Cut only a little bit at a time and take off less than you think you need to – you can always go back and take off more.

20130215-095027.jpg
Step 4: I had a hard time taking a picture of this. You need to use your scissors to cut straight up into the ends of your bangs. This will break up the ends for a more natural look.

20130215-095340.jpg
Step 5: If you’re planning to sweep your bangs to the side, leave some extra length. I keep mine long enough to cover my eye.

20130215-095505.jpg
Sweep to the side, and that’s it!

Happy Friday!

Claire xo

card box mad love

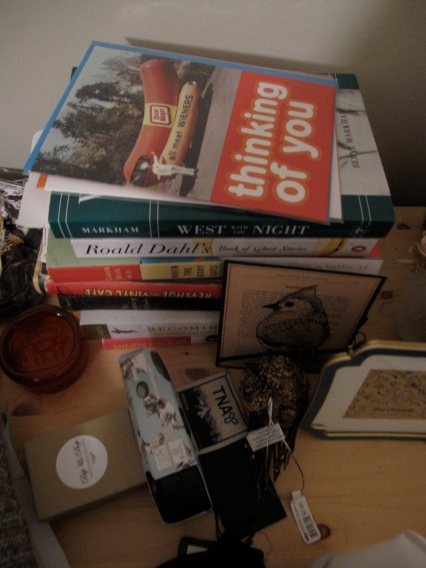
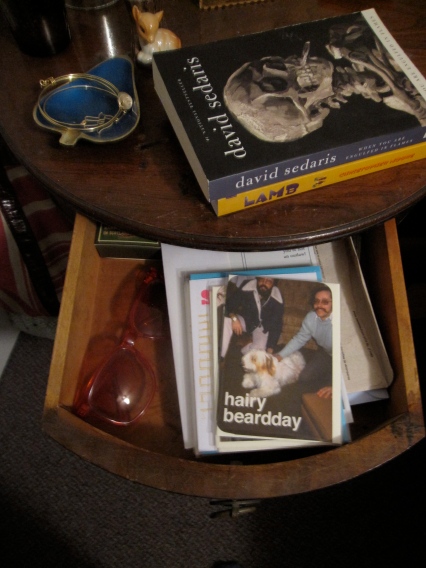
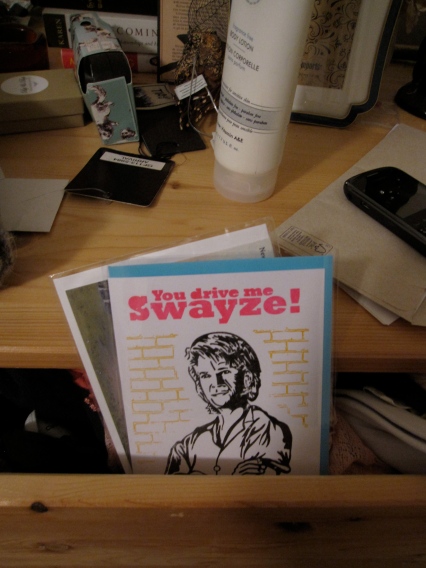
Greeting cards are my jam. Few things make me more excited than finding a unique card that matches my sense of humor, and when I do stumble upon these precious gems I pretty much always buy them. As such, I was starting to find small piles throughout my apartment:

Image

ImageImage

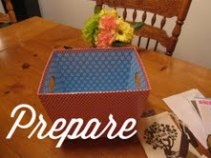
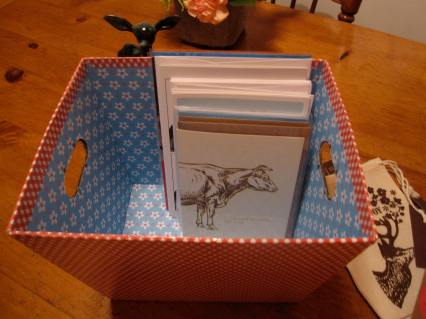
Clearly it was time to figure out a solution where I could keep all these little beauties in one place. It was as simple as picking up an inexpensive box. Here is the process of what I did:

Image

Image

Image

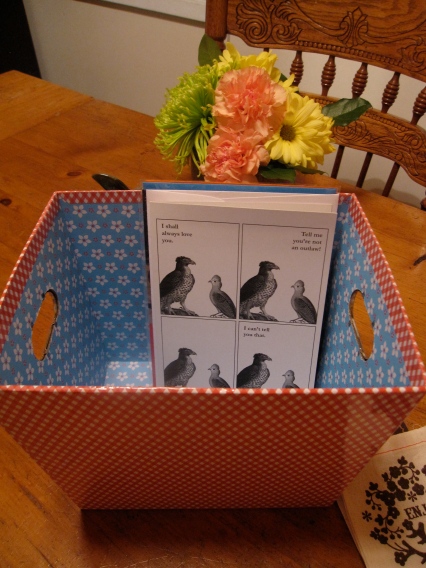
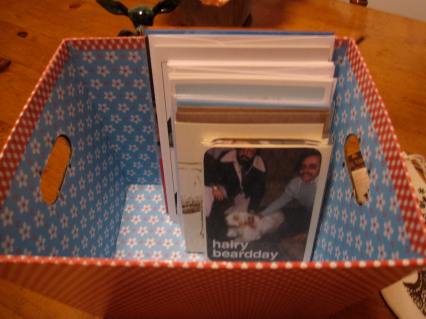
Then, I put the cards in starting with the tallest in the back and working down to the smallest.

Image

Image

Image

I put some adorable reusable gift bags on the left side, and some equally adorable gift tags (purchased on sale from Anthropologie) in front, and finally tossed in some ribbon that I had kicking around.

Image

And there you have it! One little box filled with cards that I love so much I find difficult to part with. Hairy Beardday everyone!

Image